A Basic HTML5 Page
If you haven’t read the Introduction to HTML5 yet, go ahead and read that. I’ll still be here when you get back!
What a Basic HTML5 Page Looks Like
If you’ve chosen your text editor, power it up straight away. Got it? Great!
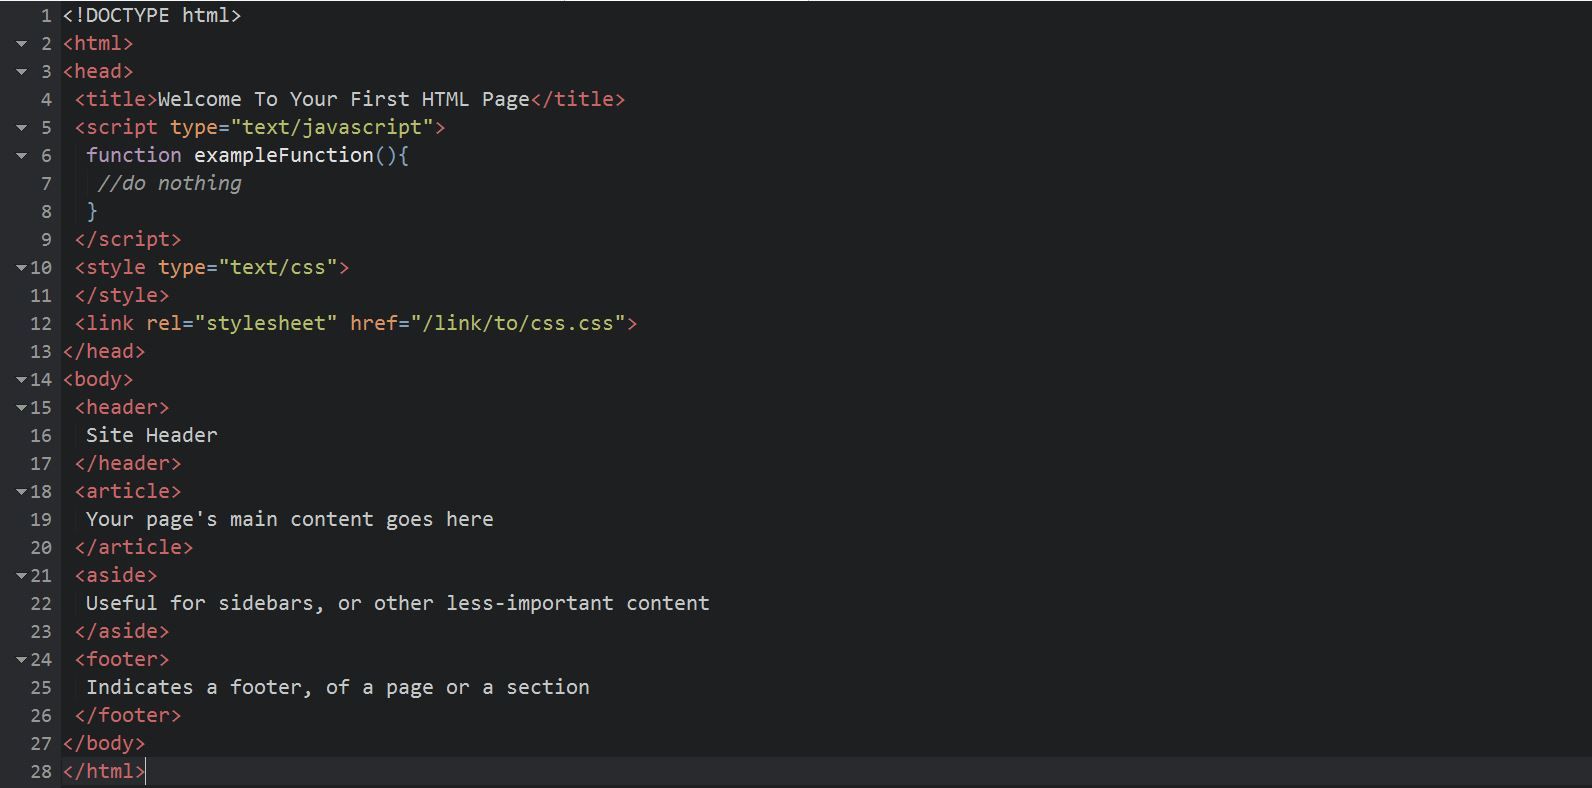
The code snippet I introduced last lesson was this:
<!DOCTYPE html><html><head> <title>Welcome To Your First HTML Page</title> <script type="text/javascript"> function exampleFunction(){ //do nothing } </script> <style type="text/css"> </style> <link rel="stylesheet" href="/link/to/css.css"></head><body> <header> Site Header </header> <article> Your page's main content goes here </article> <aside> Useful for sidebars, or other less-important content </aside> <footer> Indicates a footer, of a page or a section </footer></body></html> If you’re totally new to coding, then don’t be daunted as I’ll go down it pretty much line-by-line.
Line 1: DOCTYPE html
If you’ve never coded before, then you should be grateful for this line. The first line of a HTML document used to be more complicated than this, but since the introduction of HTML5 it was made simpler.
This line tells your browser what kind of page this is, or more accurately, what type of document it is (see, DOCTYPE!). And the document type is html.
This HTML Tag does not have a closing tag – i.e. there is no </doctype> to put at the end of your code. The only thing you need to know is by putting this at the start of the document, you are telling the browser that it is a HTML5 compliant page.
Line 2 and 28: HTML Tag
The <html> tag (along with the </html> closing tag) contain everything about your page in between them.
Pro Tip:
It is a good idea to get into a healthy routine now. If your tags should have a closing tag, then type your opening and closing HTML tags first. Then go ahead and put stuff between them. Tags which have not been closed can often make your whole page mess up and makes finding why they have messed up much harder.
So you can see in this example that all the other tags, except <!DOCTYPE html> are between your <html> </html> tags.
Line 3 and 13: HEAD Tag
Next we have the <head> </head> tag pair.
The HEAD section contains a whole load of stuff to be pre-loaded, or considered, before your page is displayed to the users. This includes:
- information to be sent to the browser tab (e.g. the text and icon you can see on your browser tab now)
- information which dictates layout and colour schemes
- information to be sent to search engines
- information for when your page is shared on Social Media
- and other files which give your page extra functionality.
There are more items which can appear in the <head> section, but that’s a good start. When done correctly, none of these things themselves appear on the page, although they might dictate how that is presented.
Line 4: TITLE Tag
The <title> </title> tag pair serves as a title for your page and should reflect what your document is about. It appears in two key places
- In your browser’s top bar (or tab) and as the default setting if someone bookmarks your page
- As the blue clickable text when your site is shown in search engine results
When choosing your <title> you should keep it short but descriptive. And if you want to include your site name in the title tag, put it after the page description. e.g.
A Basic HTML5 Page – Resource Centre
not
Resource Centre – A Basic HTML5 Page
Technically, for search engine presentation there is a pixel limit, but if you keep it under 58 characters you should be fine. I’ll cover other head tags in a later tutorial.
Line 5-9: SCRIPT Tag
I’m not going to go into too much detail on this one. JavaScript (and its cousin JQuery) is a programming language which can be used to enhance a page’s functionality. Things like image galleries, sliders and complex programs like browser-based-games use SCRIPT tags. Other features such as dynamically loading content such as you find in Facebook and Twitter are powered in part by JavaScript.
Web visitor tracking systems like Google Analytics use JavaScript to talk to their servers.
These tags can be found inside your <head>, or to improve page speed may be found just before the </body> tag.
Line 10-12: CSS
In time this site will bring in CSS (Cascading Style Sheets). Stylesheets govern how different tags and features are displayed in a browser. By having one stylesheet for your whole site, you can create a consistent look and feel on all your pages. Stylesheets are also the primary way of building a mobile-friendly (responsive) website.
- Lines 10-11: The
<style> </style>tags are for page-specific layout rules One one hand this can speed up your page load time (because you’re not loading rules from another file) but external files get cached, increasing the load time of subsequent pages visited by your users. However, there may be occasions where certain layout rules only apply to specific pages, so you can use this tag pair for that. - Line 12: The
<link>tag (which does not have a</link>tag) is used to pull in certain external files, most commonly CSS stored in an external file. If this tag is on all your pages, then the same layout rules will be applied across your whole website.
Line 14 and 27: BODY Tag
The simplest way to consider this is that, everything found between <body> and </body> is what will be displayed in a browser when someone loads your website. Although you might find <script> </script> tags occasionally, this should be rare.
The main exception to this rule is when you want to speed up your website’s page load time, you can move these to just before the
</body>tag, but you’ll need to make sure that the rendering of your page does not depend on these Scripts first.
The vast majority of your coding will be focussed on what is found between the two BODY tags.
Line 15-17: HEADER tag
Not to be confused with the <head> tag, the header tag determines what appears at the top of your site. It can also be used to denote the ‘header’ of something else. So say you have a list of new blog posts, you might use the header on each of your post summaries. But for the purposes of these tutorials, for now, assume this is to do with the top of your page.
Headers could contain things like:
- Your Logo
- Your key contact information
- Social Media Icons
- Your site’s navigation links (although, as we will see later, this does not necessarily have to be the case)
In short, see the <header> as part of a template – what will appear at the top of every page.
Lines 18-20: ARTICLE Tag
Whether this is for a blog post or just a ‘content page’, your main page text and images go in here. The contains the stuff relevant for this page specifically.
Lines 21-23: ASIDE Tag
Less important information can go in the <aside> </aside> tag pair. This could be used for anything really from related pages, interesting additional information, or for a sidebar across the whole site. Just bear in mind that anything in your aside will be treated as a less important that the content in your <article> </article> tags.
Lines 24-26: FOOTER Tag
An you’ve reached the last element in our example, well done! The </footer> </footer> tag pair can be used as a ‘template tag’ – i.e. stuff you want to appear at the bottom of every page. What you put in your footer is up to you, but it’s usually helpful to have some key page links in there. This is so when people have scrolled or swiped to the bottom of your page, they have somewhere to go, rather than forcing them to return to the top of your page to browse more pages.
Saving Your Basic HTML5 Page
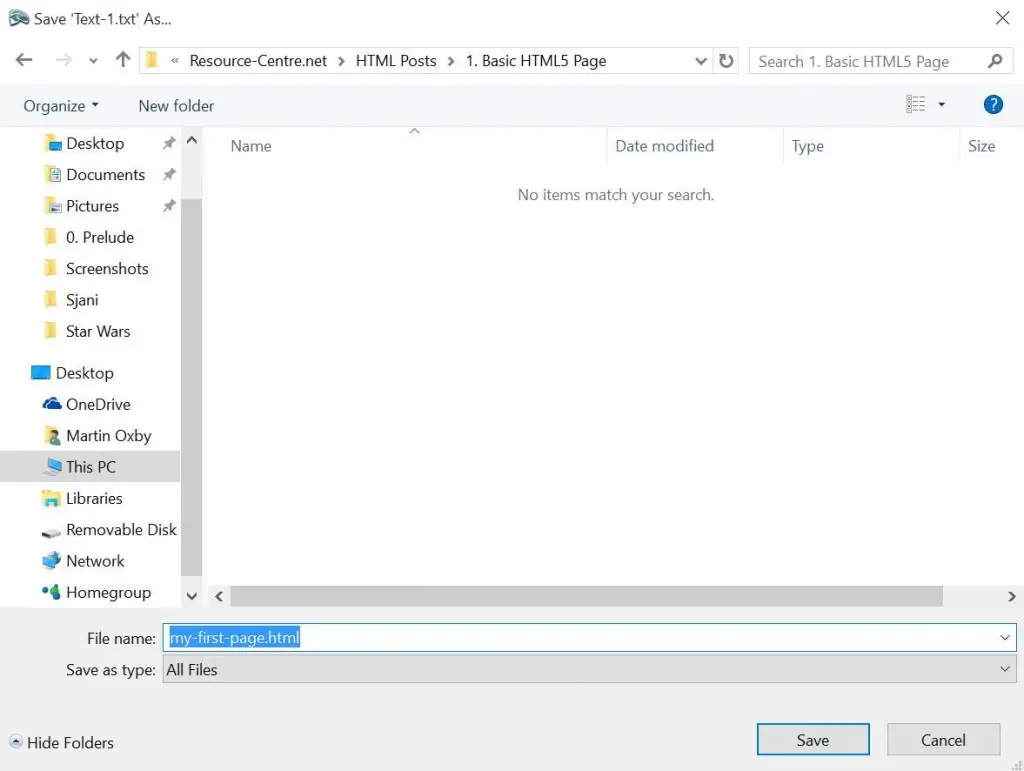
 Now you’ve got your first lines of HTML5 put in, you need to go ahead and save that file. Depending on your text editor, you may need to specify the file extension (the letters/numbers after the dot in the file name).
For a simple HTML5 file, you can give it the extension of .htm or .html.
Save this anywhere on your computer, but remember where you have saved it.
To get you thinking about putting your files on the web, follow these two principles
- Keep all your letters in lower-case
- Replace spaces with hyphens/dashes
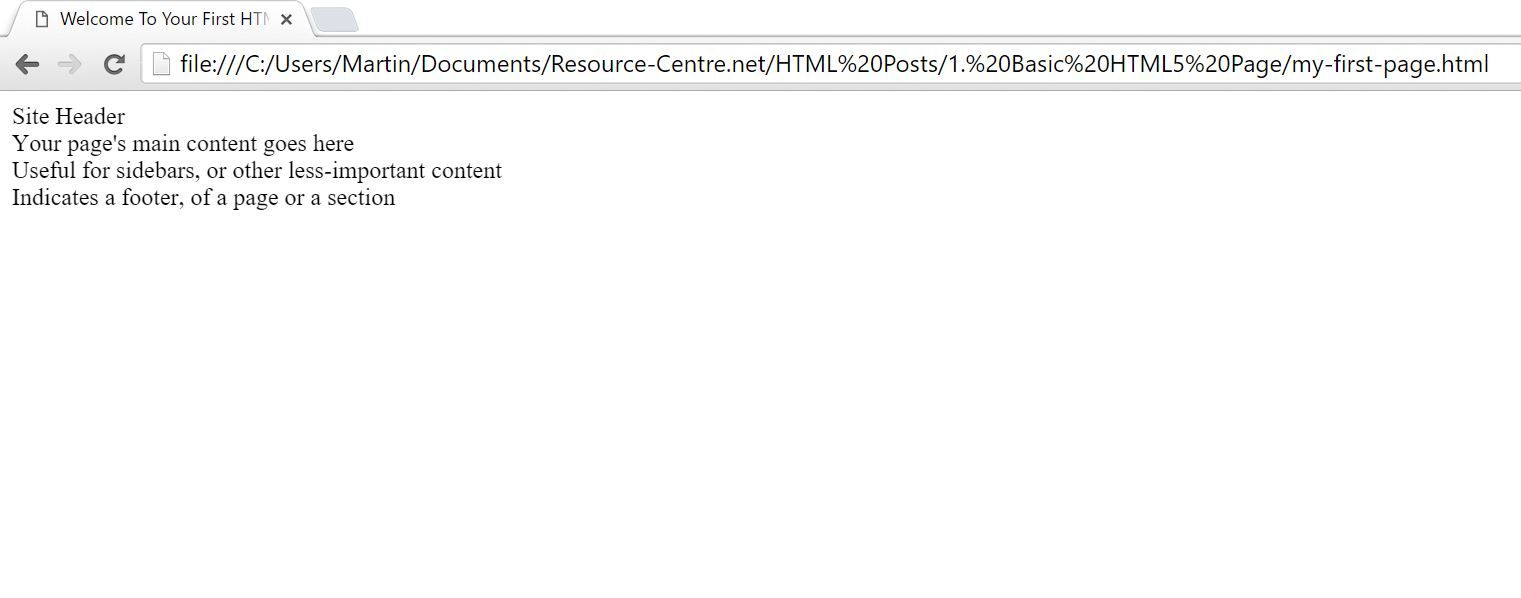
Now, go ahead and open your new file in a browser. It should look something like this:

It might not look that impressive, but you’ve taken your first steps in creating a web page. Now go treat yourself to something!
